Introduction
Accurate measurement of absorbance in scientific experiments, particularly in spectroscopy and colorimetry, is essential for data reliability. The calculation of corrected absorbance is a critical step to account for various factors such as background light levels and instrumental errors. This process ensures that absorbance data reflects only the sample information, free from any distortions or biases that could affect the experimental outcomes.
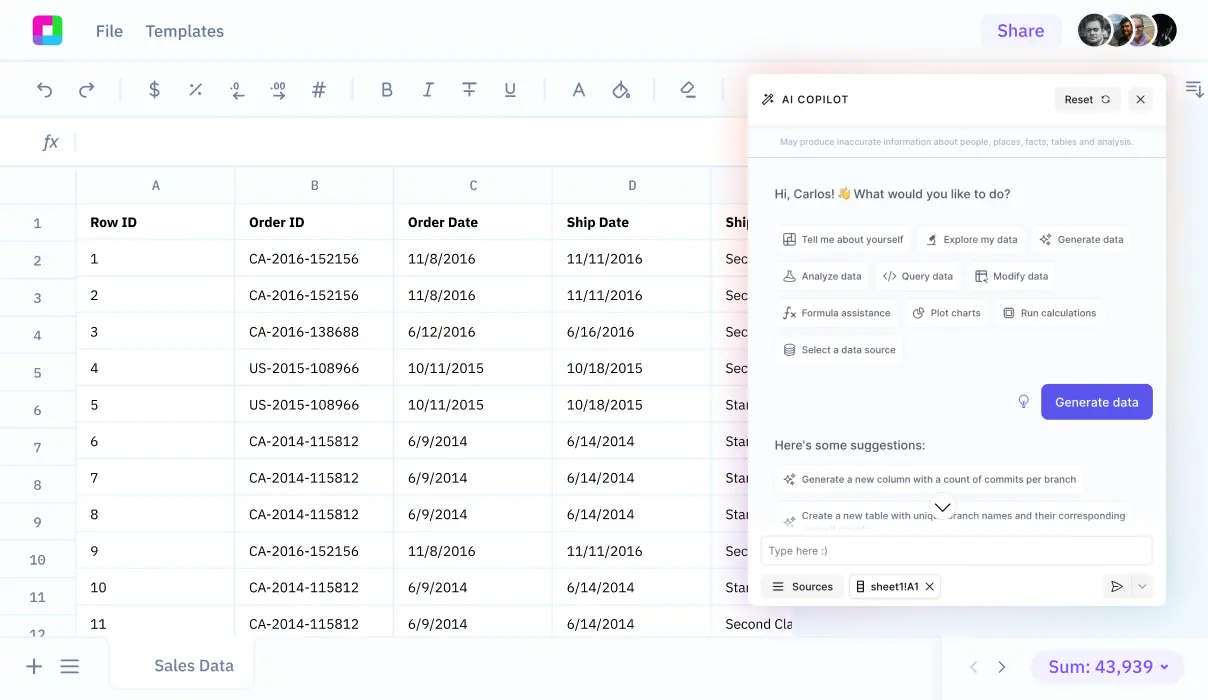
To achieve accurate results, understanding how to calculate corrected absorbance is indispensable. This guide will walk you through the foundational concepts and methods required to adjust raw absorbance readings properly. Additionally, we'll explore how Sourcetable facilitates these calculations and more, using its AI-powered spreadsheet assistant.
See how easy it is to corrected absorbance with Sourcetable
Guide to Calculating Corrected Absorbance
Essential Tools for Measurement
To accurately measure corrected absorbance, you require specific equipment. Key tools include an absorbance reader equipped with either tungsten halogen lamps or xenon flashlamps for light source, photomultiplier tubes, or CCDs for detecting light. Ensure the use of appropriate cuvettes or microplates compatible with your reader for optimal results.
Formula for Corrected Absorbance
The fundamental calculation involves the formula: corrected absorbance = (total volume / initial volume) * observed absorbance. This adjustment accounts for any changes in sample volume during preparation or analysis, thus providing an accurate absorbance value reflective of the original sample concentration.
Calculating Mean Corrected Absorbance
Begin by determining the mean of test absorbances and subtract the mean of blank absorbances. The formula to apply is: mean corrected absorbance = mean test absorbance - mean blank absorbance. This step is crucial for nullifying the effect of any external variabilities like instrument noise or reagent impurities.
Factors Influencing Corrected Absorbance
Several variables can affect the accuracy of your absorbance measurements. These include particle presence in the solution leading to increased light scattering, the path length of the cuvette, and the material and size of the cuvette. External factors such as fingerprints on cuvette windows, solution pH, temperature, and stray light also play significant roles. Adjusting these factors can help in achieving reliable absorbance results.
Handling High Concentration Samples
For high concentration samples, it's advisable to use short path length cuvettes or dilute the samples if feasible, considering some samples cannot be easily diluted. Dilution can alter absorbance due to shifts in peak wavelengths. In NIR region analysis, utilizing short path length cells is recommended to prevent saturation from solvent light absorption which can hinder analyte detection.
By adhering to this detailed guide, you can effectively calculate the corrected absorbance for various sample types under different experimental conditions, ensuring high accuracy in your spectroscopic analysis.
How to Calculate Corrected Absorbance
Corrected absorbance is essential for accurate spectrophotometric analysis. This measurement ensures that only the absorbance due to the sample is reported, excluding any background interference.
Steps for Correction
Begin by identifying the blank's absorbance. This is typically the absorbance of tube number 1 in your set of readings. Record this value.
Subtract the blank's absorbance from the absorbance of each sample tube. Use the formula: Corrected Absorbance = Sample Absorbance - Blank Absorbance.
For instance, if the absorbance of tube 1 (blank) is 0.06 and the absorbance of tube 2 is 0.13, the corrected absorbance for tube 2 would be calculated as 0.07 = 0.13 - 0.06.
Repeat this calculation for each tube in your experiment to ensure all data is corrected for any baseline absorbance variations.
Try Sourcetable For Free
Calculate anything with Sourcetable AI. Tell Sourcetable what you want to calculate. Sourcetable does the rest.
Sign Up
Examples of Calculating Corrected Absorbance
Example 1: Simple Correction
Consider a measurement where the initial absorbance of a sample is A = 0.500 and the blank measurement is A_{blank} = 0.050. To find the corrected absorbance, subtract the blank measurement from the initial reading: A_{corrected} = A - A_{blank} = 0.500 - 0.050 = 0.450.
Example 2: Correction with Dilution Factor
If the sample was diluted before measurement, include the dilution factor in your calculation. Assuming an initial absorbance of 0.800, a blank absorbance of 0.100, and a dilution factor of 2, the corrected absorbance is calculated as follows: A_{corrected} = (A - A_{blank}) \times \text{Dilution Factor} = (0.800 - 0.100) \times 2 = 1.400.
Example 3: Sequential Dilution Correction
In a scenario with multiple sequential dilutions, total correction involves each step's dilution factor. For example, if a sample undergoes three dilution steps with factors of 2, 5, and 10, and the initial absorbance is 2.000 with a blank of 0.200, compute the corrected absorbance as follows: A_{corrected} = ((A - A_{blank}) \times 2 \times 5 \times 10) = ((2.000 - 0.200) \times 100) = 180.0.
Example 4: Path Length Correction
Correct for the path length if different from the standard 1 cm. Given an absorbance of 1.200, a blank absorbance of 0.300, and a path length of 0.5 cm, apply Lambert-Beer's law to find the corrected absorbance: A_{corrected} = (A - A_{blank}) / \text{Path Length} = (1.200 - 0.300) / 0.5 = 1.800.
Discover the Power of Sourcetable for All Your Calculation Needs
AI-Powered Precision
Sourcetable transforms tedious computations into simple tasks with its AI-driven capabilities. Whether for academic purposes, professional tasks, or personal projects, this AI-powered spreadsheet ensures accurate results swiftly.
Effortless Calculation of Corrected Absorbance
Understanding corrected absorbance is crucial in spectrophotometry, often used to analyze concentration and purity in biomolecular samples. Sourcetable simplifies this complex calculation. By inputting just the initial data, Sourcetable’s AI instantly computes corrected absorbance and displays the full process and results in an easy-to-understand spreadsheet format.
Interactive Learning and Problem Solving
Not only does Sourcetable display calculations, but it also explains them. Its chat interface provides step-by-step explanations of processes like how to calculate corrected absorbance, making it an indispensable tool for students and professionals aiming to deepen their understanding of various calculations.
Choose Sourcetable for a comprehensive, clear, and concise computation partner that promotes efficiency and accuracy in every task.
Use Cases for Calculating Corrected Absorbance
Standard Curve Creation in ELISA Tests |
Subtract the average blank well absorbance from all sample absorbances to correct readings. Then, plot the corrected absorbance against known concentrations to form a standard curve. Use this curve for quantifying unknown concentrations in biological samples, even after dilution. |
Improved Accuracy in Spectrophotometry |
Use corrected absorbance values in spectrophotometric analysis to adjust for solvent background absorbance, especially relevant at 340 nm for UV and 750 nm for both UV and Vis spectra. This improves the precision of concentration calculations based on Beer's Law. |
Enhanced Performance in Microarray Applications |
Apply a baseline correction of 750 nm for all measurements in microarray and labeled protein applications. This procedure minimizes the interference caused by the solvents, enabling more accurate profiling of gene expressions or protein interactions. |
Reliability in Kinetic Studies |
In kinetic applications, where real-time monitoring of reaction rates is crucial, ensure to use baseline correction wavelengths as per the method's specification. This is essential to maintain the consistency and accuracy of the absorbance measurements over time. |
User-Controlled Baseline Normalization in DS-11 Software |
Employ the option for baseline normalization in DS-11 software to refine data quality, particularly when dealing with complex samples where baseline fluctuations might skew the results. |
Minimizing Errors in Low Concentration Measurements |
Correcting for blanks is indispensable for low concentration measurements. Accurate determination of trace analytes in clinical, environmental, or pharmaceutical contexts relies on stringent correction protocols to ensure accuracy and reliability of results. |
Frequently Asked Questions
What is the basic method to calculate corrected absorbance?
The basic method to calculate corrected absorbance is by subtracting the blank absorbance from each individual absorbance value of the samples.
How do you use the absorbance of the blank in corrected absorbance calculations?
In corrected absorbance calculations, the absorbance of the blank (usually the first tube's absorbance in the set) is subtracted from the absorbance of each subsequent sample to account for background signals.
Can the corrected absorbance formula include dilution factors?
Yes, the corrected absorbance can be further adjusted by accounting for dilution factors using the formula: corrected absorbance = (total volume / initial volume) * observed absorbance.
What is an example of calculating corrected absorbance?
For example, if tube 1 has an absorbance of 0.06 and tube 2 has an absorbance of 0.13, the corrected absorbance for tube 2 would be calculated as 0.13 minus 0.06, resulting in 0.07.
Why is it important to calculate corrected absorbance in spectroscopy?
Corrected absorbance is crucial in spectroscopy as it helps in accurately measuring the concentration of substances and avoids errors introduced by sample background, providing reliable data for qualitative and quantitative analysis.
Conclusion
Correcting absorbance in your experiments is crucial for accurate results. The process involves adjusting the absorbance readings to account for inconsistencies or interferences. Typically, the formula for corrected absorbance is A_{corrected} = A_{observed} - A_{blank}, where A_{observed} is the raw reading and A_{blank} is the control sample reading.
Streamline Your Calculations with Sourcetable
Sourcetable, an AI-powered spreadsheet, greatly simplifies such calculations. You can input your data directly and let the platform handle the complex parts of the computation, which ensures precision and saves time. Furthermore, Sourcetable allows users to experiment with AI-generated data, enhancing the robustness of your analyses.
Try Sourcetable for free today at app.sourcetable.com/signup to streamline your scientific calculations and more.
Try Sourcetable For Free
Calculate anything with Sourcetable AI. Tell Sourcetable what you want to calculate. Sourcetable does the rest.
Sign Up
Recommended Guides
Connect your most-used data sources and tools to Sourcetable for seamless analysis.
-
how to calculate absorbance from transmittance

-
how to calculate concentration from absorbance
-
how to calculate conc from absorbance
-
how to calculate molar absorption coefficient
-
how do you calculate the absorption rate
-
how to calculate albedo
-
how to calculate percent transmittance
-
how to calculate absorption rate in real estate
Calculate anything you want with AI
Sourcetable takes the math out of any complex calculation. Tell Sourcetable what you want to calculate. Sourcetable AI does the rest. See the step-by-step result in a spreadsheet and visualize your work. No Excel skills required.