

Export Powershell Directory Listing to CSV

Introduction
Exporting a directory listing to a CSV file using PowerShell is a straightforward process. It allows you to efficiently manage and analyze directory data.
This guide provides a step-by-step approach to export your data with PowerShell commands. Utilizing the inherent flexibility of PowerShell, you can customize the output to suit your specific requirements.
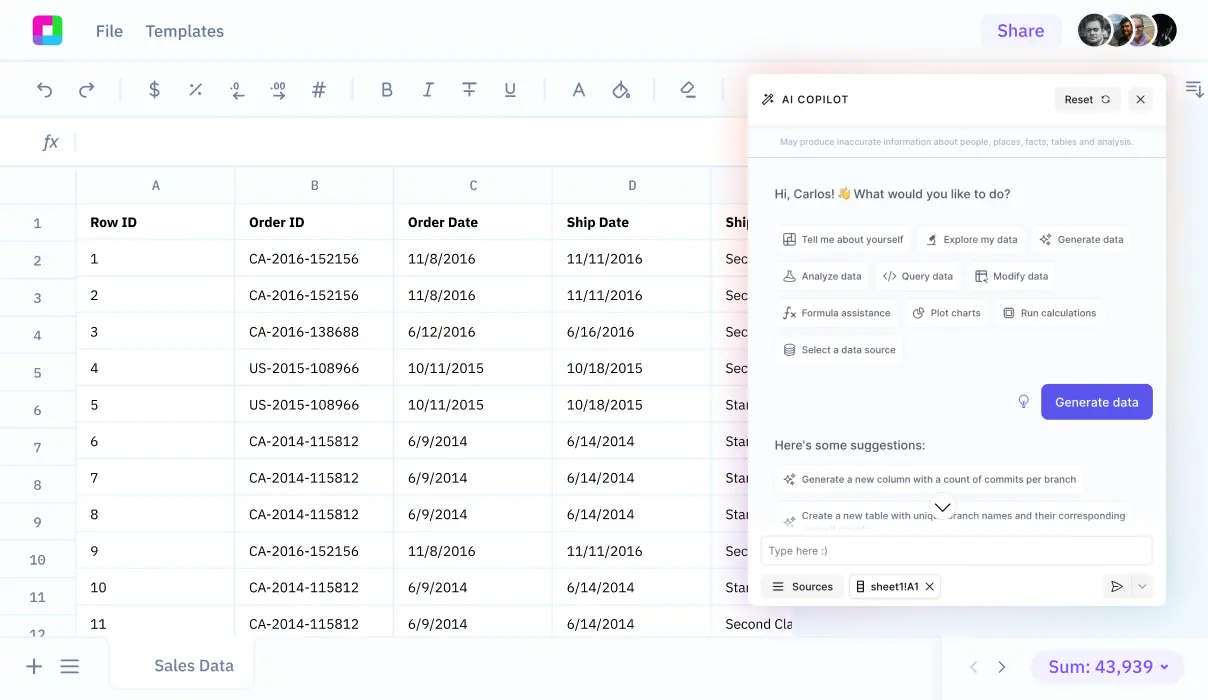
Additionally, we will explore how Sourcetable enables you to analyze your exported data with AI in a simple to use spreadsheet.
Exporting a PowerShell Directory Listing to CSV Format
Introduction
Exporting a directory listing and its subfolders to a CSV file using PowerShell is an effective way to organize and manage file data. PowerShell provides the Export-Csv cmdlet to facilitate this process, converting object data into CSV strings and saving them as a file. This method is particularly useful for system administrators and IT professionals.
Using Export-Csv Cmdlet
The Export-Csv cmdlet is the primary tool for exporting data to CSV in PowerShell. It converts objects into a series of CSV strings and saves them to a specified file path. You can customize the output format using various parameters such as -Path, -NoTypeInformation, and -Delimiter.
Getting Directory Listing
To get a directory listing, use the Get-ChildItem cmdlet. This cmdlet retrieves the items in the specified location, including all files and subfolders. To include subfolders, use the -Recurse parameter. The output can then be piped to the Export-Csv cmdlet.
Selecting Properties
Before exporting, you may want to select specific properties of the directory items. Use the Select-Object cmdlet to choose the properties you need. For example, you can select the file BaseName and Extension properties. This step helps in organizing the data efficiently in the CSV file.
Creating the CSV File
Once you have the desired properties, pipe the output to the Export-Csv cmdlet. Specify the path where you want to save the CSV file using the -Path parameter. Use the -NoTypeInformation parameter to omit the #TYPE information header from the output. By default, Export-Csv will overwrite the existing file; use the -Append parameter to add data to an existing file without overwriting it.
Example Command
An example command to export a directory listing to CSV would look like this:
Get-ChildItem -Path "C:\temp" -Recurse | Select-Object @{Name='BaseName';Expression={$_.BaseName}}, Extension | Export-Csv -Path "C:\temp\filelist.csv" -NoTypeInformationThis command lists all files in "C:\temp" and its subfolders, selects the BaseName and Extension properties, and exports the data to "filelist.csv".
Conclusion
Using PowerShell to export directory listings to CSV format is a straightforward process that involves retrieving directory items and exporting the data using the Export-Csv cmdlet. By carefully selecting the desired properties and specifying appropriate parameters, you can create a well-organized CSV file suitable for further analysis or sharing.
How to Export Your Data to CSV Format from PowerShell Directory Listing
Introduction
PowerShell provides a versatile way to export a directory listing to CSV format. This method allows you to capture an entire directory and all its subfolders' details into a CSV file, making data management and sharing straightforward.
Using the Export-Csv Cmdlet
The Export-Csv cmdlet is the primary tool for exporting data to a CSV file in PowerShell. This cmdlet converts objects into a series of CSV strings and saves them to a specified file. It is particularly useful for creating spreadsheets and sharing data with programs that accept CSV input.
Creating a Directory Listing
To create a CSV file from a directory listing, use the Get-ChildItem cmdlet. This cmdlet lists all the files in a directory. Use the -Recurse parameter to include files from subdirectories.
Selecting Properties
Pipe the output of Get-ChildItem to the Select-Object cmdlet. This allows you to specify the properties you want to include in the CSV file. Avoid formatting objects before sending them to Export-Csv, as it makes the CSV file useless.
Exporting to CSV
After selecting the desired properties, pipe the output to the Export-Csv cmdlet. Use the -Path parameter to specify the destination file path. The -NoTypeInformation parameter omits the #TYPE information header from the CSV output. Optionally, use the -Delimiter parameter to specify a custom delimiter character.
Example Command
Here is an example PowerShell command that exports a directory listing to a CSV file:
Additional Parameters
Use the -Append parameter to add data to an existing CSV file. The -UseCulture parameter uses the current culture's default list separator as the delimiter. Use -Force to overwrite files with the Read Only attribute.
Conclusion
Exporting a directory listing to CSV format using PowerShell is efficient and convenient. By following the steps above, you can easily manage and share detailed directory information in a universally accepted format.
Use Cases of PowerShell Directory Listing
1. Listing All Files and Folders in a Directory
Using the Get-ChildItem cmdlet in PowerShell, you can list all files and folders within a specific directory. This cmdlet functions similarly to the dir command in cmd.exe or ls in UNIX, providing a simple and efficient way to explore directory contents.
2. Displaying Hidden and System Items
The Get-ChildItem cmdlet can display hidden and system items by using the Force parameter. This capability is crucial for administrators who need to manage and troubleshoot protected files and directories not visible through standard directory listings.
3. Generating Directory Structure Visualizations
PowerShell can generate visual representations of directory structures using the Tree cmdlet for ASCII representations or the Show-Tree cmdlet from the PowerShell Community Extensions (PSCX) for windowed views. These tools help in understanding and documenting directory hierarchies.
4. Recursively Listing Directory Contents
By applying the Recurse parameter with the Get-ChildItem cmdlet, you can list all items within a directory and its subdirectories. This is especially useful for comprehensive directory audits and migrations.
5. Filtering Items Based on Properties
PowerShell allows for advanced filtering of directory contents using the Where-Object cmdlet in combination with Get-ChildItem. This functionality enables targeted searches based on item properties, such as name, date modified, or file attributes.
6. Storing Directory Listings in Text Files
You can save the output of directory listings to text files by piping the results of Get-ChildItem into other cmdlets, such as Out-File. This is ideal for creating reports and maintaining records of directory structures over time.
7. Accessing Registry Keys
The Get-ChildItem cmdlet can access and list registry keys within a specified registry hive, making it a versatile tool for both file system and system registry management.
8. Include and Exclude Parameters
PowerShell's Get-ChildItem cmdlet supports the Include and Exclude parameters, which allow for granular control over which items are listed. These parameters refine searches to include only relevant files and folders, enhancing efficiency in large directories.
Why Choose Sourcetable Over PowerShell for Directory Listing
Sourcetable offers a powerful alternative to PowerShell for directory listing by integrating all your data sources into a single platform. This spreadsheet-like interface allows for real-time querying and manipulation, surpassing the command line limitations of PowerShell.
By centralizing data, Sourcetable lets users effortlessly access and organize directory listings. This unified approach simplifies data management and enhances productivity by providing instant access to the information you need, without the need for complex scripts.
With Sourcetable, database querying becomes intuitive and visual, making it easier for users of all skill levels to manage their data. This user-friendly interface eliminates the steep learning curve associated with PowerShell, streamlining your workflow and reducing time spent on training.
Real-time updates in Sourcetable ensure your data is always current, offering a significant advantage over PowerShell's static outputs. This capability is crucial for maintaining accuracy and efficiency in dynamic environments where data changes frequently.

Frequently Asked Questions
How do I export a directory listing to a CSV file using PowerShell?
Use the following command: Get-ChildItem -path "c:
What cmdlets are used to generate a file list and export it to CSV in PowerShell?
The cmdlets used are Get-ChildItem to get the list of files, Select-Object to choose specific properties (BaseName and Extension), and Export-Csv to export the objects to a CSV file.
How can I ensure that the format properties are not included in the CSV file while exporting?
Use the -NoTypeInformation parameter with the Export-Csv cmdlet. For example: Export-Csv -Path "c:
What does the Select-Object cmdlet do in the context of exporting a directory listing to CSV?
Select-Object is used to select specific properties of the objects to be exported. In this case, it selects the BaseName and Extension of the files before exporting them to a CSV file.
Can Export-Csv handle objects with varying properties?
No, Export-Csv organizes the CSV file based on the properties of the first object submitted. It does not include the property values of subsequent objects if they do not have the specified properties.
Conclusion
Exporting directory listings from PowerShell to CSV is a straightforward process. Using the appropriate PowerShell cmdlets and syntax, you can efficiently convert and save your data.
This method ensures your directory information is accessible and easily shareable in CSV format. Follow the steps outlined to achieve accurate results.
Sign up for Sourcetable today to analyze your exported CSV data with AI in a simple to use spreadsheet.
Start working with Live Data
Al is here to help. Leverage the latest models to
analyze spreadsheets, enrich data, and create reports.