

Export Powerapps to CSV

Introduction
Exporting data from PowerApps to CSV is an essential task for users looking to analyze or share their app data efficiently. By converting your PowerApps data into a CSV file, you can leverage the portability and accessibility of this widely-supported format.
In this guide, we will walk you through the step-by-step process of exporting your data from PowerApps to a CSV file. Additionally, we'll explore how Sourcetable lets you analyze your exported data with AI in a simple to use spreadsheet.
How to Export Data to CSV Format from PowerApps
Setting Up the Export Process
To export data from PowerApps to a CSV format, you need to use Power Automate. Power Automate allows you to create flows that can convert and export your data efficiently. First, create a new flow in Power Automate that will handle the export process.
Creating the Flow
Once the flow is set up, include the 'Create CSV table' action to convert your PowerApps data into a CSV format. You may also want to use the 'Convert to JSON' action to customize the order of columns in the CSV. Ensure the data includes only supported types, such as text and number columns, to prevent errors.
Generating and Saving the CSV
Next, utilize the 'Create file' action within the flow to generate and save the CSV file. Be sure to define the file name with a .csv extension and save it in a specified location, such as a SharePoint document library like 'Exported Data'. The CSV files should be encoded in UTF-8 to correctly handle special characters like €.
Running the Flow from PowerApps
Integrate the created flow into your PowerApps application. Set the OnSelect property of a button to run this flow. Use PowerAppsToExcel.Run() function to export the table data. Note that JSON conversion may be necessary before exporting the data with the button.
Downloading the CSV File
To provide download access to the CSV file, set the output to a variable using Set. Access the CSV file link through this variable. Use the 'Download' action to download the CSV file in Excel once the flow has run successfully.
Handling Large Data Sets and Special Fields
Exports have a limit of 500 records at a time, but workarounds exist to handle larger data sets. If your export process takes longer than 12 minutes, segment the data into smaller subsets. Avoid certain unsupported fields like timezone, image files, and system fields for a smooth export process.
Conclusion
Following these steps ensures that you can effectively export your data from PowerApps to a CSV format. Utilizing Power Automate and correctly setting up your flow will streamline the export process, allowing for efficient data management and retrieval.
How to Export Data to CSV Format from PowerApps
Using Power Automate
To export data from PowerApps to CSV, use Power Automate. This method allows you to export data from a datasource or collection in PowerApps.
Setting Up the Flow
First, create a flow in Power Automate that converts your table data to CSV format. Use the "Create CSV Table" action to generate the CSV file. Customize the columns to specify the desired output format.
Connecting PowerApps to the Flow
In PowerApps, add a button that triggers the flow. When the button is pressed, the flow will convert the table data to JSON format and then to CSV. The CSV file can then be downloaded and opened in Excel.
Exporting Files
To complete the export, use the "Create File" action in Power Automate to save the CSV file to a SharePoint document library. Be sure to append ".csv" to the file name. The default separator for CSV files is a comma, but you can change this if needed.
Downloading the CSV File
Once the flow runs, it will return the CSV file, which can be directly downloaded and opened in Excel. This allows for seamless data export from PowerApps.
Use Cases for PowerApps
Inventory Management System
PowerApps can be used to develop an efficient Inventory Management System. This system benefits businesses by automating manual inventory tracking processes, ensuring real-time updates, and providing cleaner data. Additionally, it supports mobile devices, allowing employees to manage inventory on-the-go, improving efficiency and reducing costs.
Employee Onboarding App
Employee onboarding processes can be streamlined using PowerApps. This app helps automate tedious onboarding tasks, ensuring a smooth transition for new hires. It also integrates with Microsoft services like Azure and Dataverse, centralizing all onboarding data and documentation, saving time, and reducing manual processing errors.
Expense Approval App
PowerApps enables the creation of an Expense Approval App that automates the approval workflow. This app reduces IT costs and integrates with Microsoft Power BI for real-time expense tracking. By automating the expense approval process, it reduces time spent on manual tasks, thereby increasing overall business efficiency.
Quality Assurance Process
PowerApps can be utilized to automate Quality Assurance Processes for businesses. This application ensures consistent data collection and automates various tasks involved in quality checks. As a result, businesses can maintain high-quality standards and meet regulatory requirements, avoiding potential fines from audits.
Client Intake Forms
Client Intake Forms can be digitized using PowerApps, eliminating paper-based forms and manual entry errors. This solution integrates with other Microsoft applications, providing a seamless intake process and ensuring secure and reliable data storage. It drastically cuts processing times, allowing businesses to onboard clients more efficiently.
Virtual Personal Assistant
Developing a Virtual Personal Assistant with PowerApps aids businesses by automating routine tasks and linking fields seamlessly. This application provides employees with an intuitive interface to handle daily tasks, enhancing productivity and allowing them to focus on more critical activities.
Ticketing System or Help Desk
PowerApps can be leveraged to build a Ticketing System or Help Desk application. This app automates the tracking and management of support tickets, ensuring quick resolutions and efficient service delivery. Integration with Power BI provides insightful analytics, helping businesses improve their support processes and customer satisfaction.
Market Research Reports
Market Research Reports can be efficiently managed using PowerApps. This application supports mobile devices, making it easier for field researchers to gather and input data on the go. It also integrates with various Microsoft and third-party services, automating data compilation and analysis, thus delivering insights faster and more accurately.
Why Sourcetable is an Alternative to PowerApps
Sourcetable offers a powerful solution for data collection by integrating multiple data sources in a single spreadsheet interface. Unlike PowerApps, which requires separate configurations for different data sources, Sourcetable consolidates all your data seamlessly.
With Sourcetable, users can execute real-time queries directly from databases and manipulate data within a familiar, spreadsheet-like environment. This simplicity contrasts with the more complex setups often required with PowerApps.
Sourcetable's intuitive design caters to users seeking efficient data management without extensive training. This usability makes it a compelling alternative to PowerApps, providing advanced functionalities with an easier learning curve.

Frequently Asked Questions
How can I export data from PowerApps to a CSV file?
You can export data from PowerApps to a CSV file by creating a flow in Power Automate. Use the PowerApps (V2) trigger, configure the flow to use the Create CSV Table action, specify the data to include, and connect the flow to PowerApps.
Why are my columns in the CSV file always in alphabetical order?
The JSON function used to convert table data to JSON typically outputs properties in alphabetical order. Use custom columns in the Export to Excel action to specify the order of the columns you want in the exported CSV file.
How can I export choice and date columns correctly in PowerApps?
Choice columns require extracting the value and passing it into the flow. Date columns can be exported as text by using the Text function on the date column before passing it into the flow.
Can I download filtered data from PowerApps to a CSV file?
Yes, you can filter the data using the ShowColumns function to specify which columns to include, and then use the JSON function to convert the filtered data to a JSON object to pass into the flow.
What is the maximum number of records that can be exported from PowerApps to a CSV file?
The default row limit for exporting data from PowerApps to a CSV file is 500 records. You may extend this limit by using a calculated column in SharePoint as a workaround.
Conclusion
Exporting data from PowerApps to CSV is a straightforward process that empowers users to manipulate and analyze their data on various platforms.
Following the steps outlined ensures that your data is accurately transferred and ready for use.
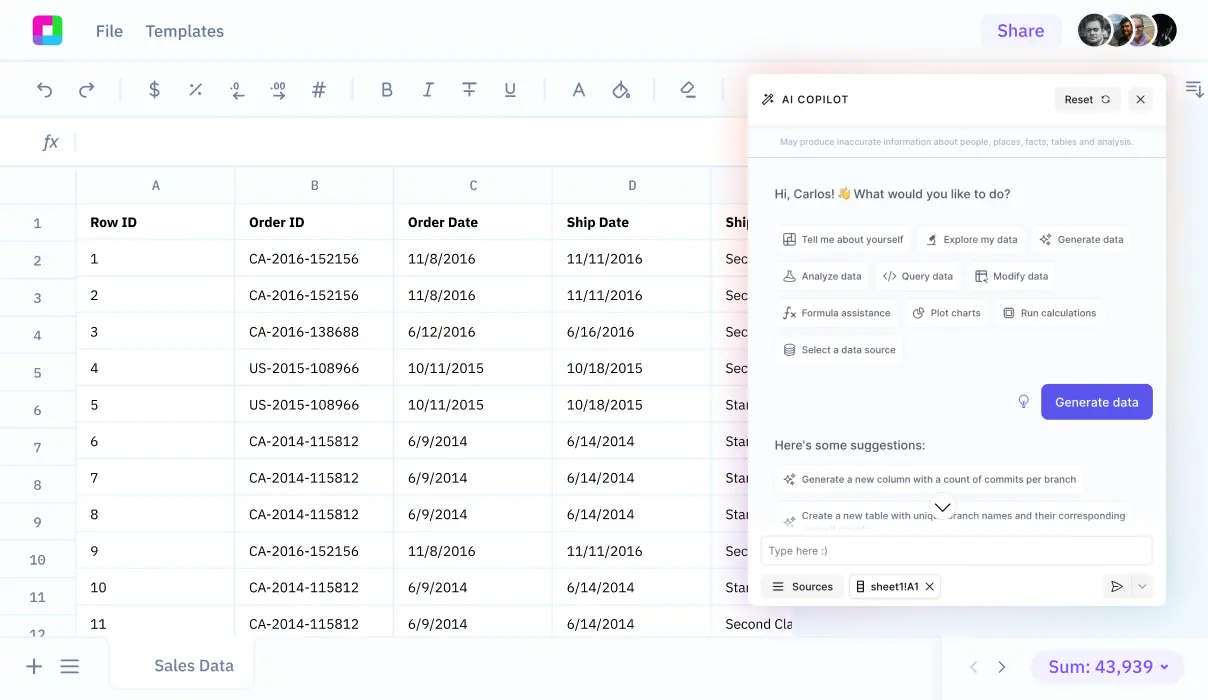
Sign up for Sourcetable to analyze your exported CSV data with AI in a simple-to-use spreadsheet.
Start working with Live Data
Al is here to help. Leverage the latest models to
analyze spreadsheets, enrich data, and create reports.