

Export Azure Vm Details to CSV

Introduction
Exporting Azure VM details to CSV is essential for data analysis, reporting, and backup purposes.
This guide provides a step-by-step approach to help you efficiently export your Azure VM details to a CSV file.
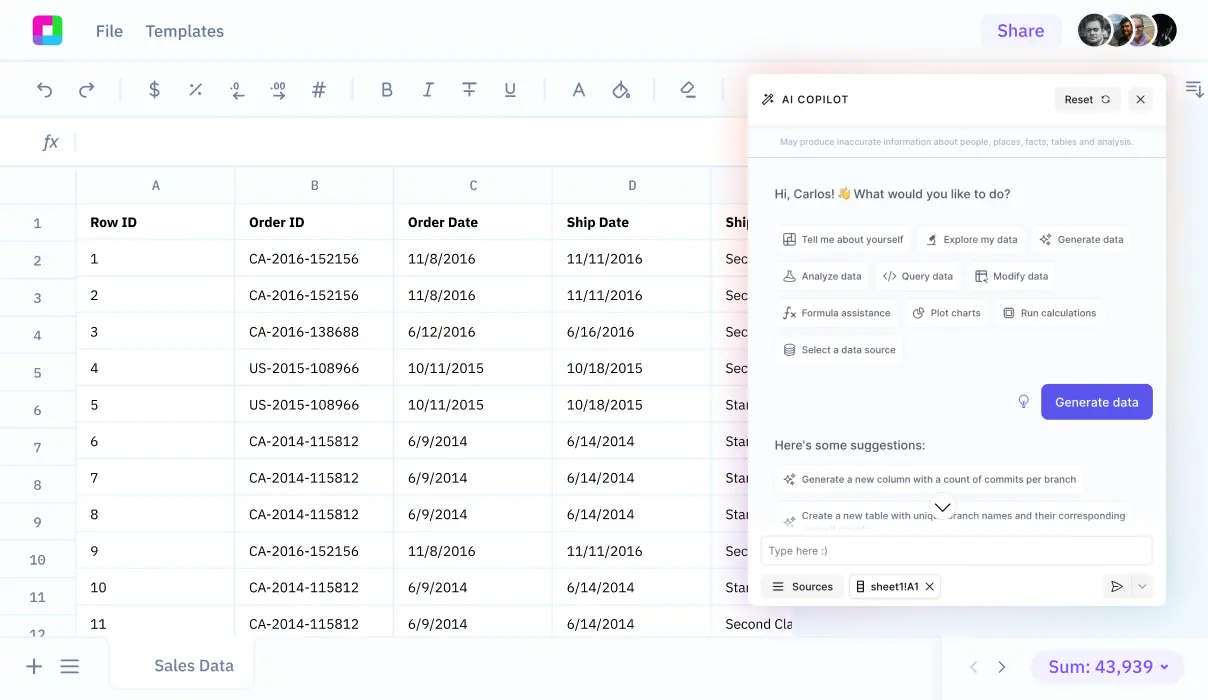
We’ll also explore how Sourcetable lets you analyze your exported data with AI in a simple to use spreadsheet.
How to Export Azure VM Details to CSV
Connecting to Azure Subscriptions
To export Azure VM details to a CSV file, you first need to connect to your Azure subscriptions. Use the Connect-AzAccount command to connect to multiple subscriptions. This initial step is crucial as it sets up the environment for retrieving VM details across different subscriptions.
Retrieving Subscriptions
Use $subs = Get-AzSubscription to retrieve all subscriptions you have access to. This command gathers the subscription information necessary for subsequent actions.
Selecting Each Subscription
To loop through each subscription, use foreach ($sub in $subs). This loop will allow the execution of subsequent commands for each individual subscription.
Selecting a Subscription
Within the loop, select the current subscription using select-AzSubscription $sub | Out-Null. This makes it possible to pull VM details specific to the selected subscription.
Gathering VM Information
Use $vms = Get-AzVM to get all virtual machines for the currently selected subscription. Collecting this information is crucial for compiling VM details.
Retrieving Network Interfaces and Public IPs
To get network-related information, use $nics = Get-AzNetworkInterface and $publicIps = Get-AzPublicIpAddress. These commands fetch all network interfaces and public IP addresses, respectively, which are essential for comprehensive VM details.
Initializing and Storing VM Details
For each network interface, use foreach ($nic in $nics) to run the following commands. Initialize the variable $info with necessary VM details like name, resource group, region, etc., by using $info = "" | Select VmName, ResourceGroupName, Region, VmSize, VirtualNetwork, PrivateIpAddress, OsType, PublicIPAddress, Subscription, Cores, Memory, CreatedDate.
Compiling the Report
Add each $info to the report array using $report+=$info. This step compiles all VM details into a single array for easy management and export.
Formatting and Exporting to CSV
Format the report as a table for readability using $report | ft VmName, ResourceGroupName, Region, VmSize, VirtualNetwork, PrivateIpAddress, OsType, PublicIPAddress, Subscription, Cores, Memory, CreatedDate. Finally, write the compiled data to a CSV file using a script designed to export the data.
Following these steps, you can successfully export your Azure VM details to a CSV file, allowing for easier data management and analysis.
How to Export Azure VM Details to CSV
Using Azure Resource Graph Explorer
To export Azure VM details to CSV, utilize Azure Resource Graph. Run queries directly in the portal using Azure Resource Graph Explorer. Export the query results in CSV format for further analysis and reporting.
Steps to Export Azure VM Data Using PowerShell
Follow these steps to export Azure VM data as a CSV file using PowerShell:
1. Connect to your Azure account: Use the command Connect-AzAccount -Credential (Get-Credential -UserName myuser@CompanyPortal.com).
2. Get a list of all subscriptions: Execute Get-AzSubscription to retrieve subscriptions.
3. Select each subscription: Use the Select-AzSubscription command for each subscription.
4. Retrieve VM data: Execute the Get-AzVM command for each selected subscription to get the VM details.
Exporting Specific VM Details to CSV
Customize the data you want to export by selecting specific fields. For instance, using Get-AzVM, you can export details such as Subscription Name, Location, Status, Resource Group, VMType, Memory (MB), IP, Zone, and Created date.
To include public IPs, run Get-AzPublicIpAddress and combine the data.
Execution and Final Export
After retrieving the data, you can export the information to a CSV file. This allows for easy manipulation and sharing of your Azure VM details.
Pull Data from Multiple Subscriptions
Authenticate to pull data from all subscriptions that your account has access to. This approach streamlines data collection across your Azure environments.
Customize the PowerShell script to gather the precise VM usage and details you need, ensuring the CSV contains all relevant data for your analysis.
Use Cases Unlocked by Knowing Azure VM Details
Deploying Machine Learning Models
Azure VMs are instrumental in deploying machine learning models efficiently. With robust scalability and performance capabilities, they support complex computations and enable seamless integration with data pipelines. Azure VMs can also run various machine learning frameworks, making them ideal for AI workloads.
Hosting Applications
Azure VMs are highly suitable for hosting both Windows and Linux applications. Their flexibility allows for specific configurations tailored to application requirements, along with benefits such as autoscaling and cost management. This ensures optimized performance and availability for hosted applications.
Development and Testing
For developers and testers, Azure VMs provide an essential platform for performance testing, load testing, and creating isolated development environments. They enable the deployment of diverse VM types to match different project needs, facilitating efficient and effective testing processes.
Cost Optimization
Utilizing Azure VMs with cost optimization practices like using B-Series VMs for development environments, implementing autoscaling, and configuring start and stop schedules can lead to significant cost savings. Employing these strategies ensures effective use of resources and minimizes unnecessary expenditures.
Security Compliance
Azure VMs enhance security compliance through tools like Azure Policy and VM Image Builder. These tools enable the assignment and evaluation of compliance policies, customization of VM images for security, and publishing of golden images to maintain secure and compliant virtual environments.
Hybrid Cloud Deployments
Azure VMs are ideal for hybrid cloud deployments, offering seamless integration with on-premises infrastructure. This setup allows organizations to extend their datacenter capabilities to the cloud, providing flexibility and scalability while maintaining control over sensitive data.
Disaster Recovery
Azure VMs provide a reliable solution for disaster recovery by enabling quick and efficient restoration of critical applications and data. Their ability to replicate and run applications in the cloud ensures business continuity in case of on-premises failures.
Why Choose Sourcetable Over Azure VM Details?
Sourcetable offers a streamlined, intuitive interface for data collection, bringing all your sources into one accessible place. Unlike Azure VM details, which can be complex to manage, Sourcetable simplifies this process using a familiar spreadsheet-like interface.
With Sourcetable, query your data in real-time and manipulate it directly within your spreadsheet. This approach is more user-friendly compared to Azure VM details, enabling quicker data access and manipulation without the need for deep technical expertise.
Sourcetable’s real-time query capability ensures you always work with the most current data. This feature surpasses Azure VM details by eliminating the latency in data retrieval and updates, promoting enhanced decision-making processes.

Frequently Asked Questions
How do I connect to Azure using PowerShell to export VM details to a CSV?
To connect to Azure using PowerShell, you need to use the Connect-AzAccount command. This command will prompt you to log in to your Azure account.
How can I retrieve data for all VMs in my Azure subscriptions?
You can retrieve data for all VMs in your Azure subscriptions by using the Get-AzSubscription command to get all subscriptions and then looping through each subscription with Get-AzVM to get the VM details.
What commands are necessary to gather VM information such as public IPs and network interfaces?
To gather additional VM information, such as public IPs and network interfaces, you can use the Get-AzPublicIpAddress and Get-AzNetworkInterface commands.
How do I format the Azure VM information before exporting it to a CSV?
You can format the Azure VM information by creating a custom object with the required properties using the Select command and then adding these objects to a report array.
What is the command to export the gathered Azure VM details to a CSV file?
To export the gathered Azure VM details to a CSV file, you can use the Export-Csv command in PowerShell, specifying the path where you want the CSV file to be saved.
Conclusion
Exporting Azure VM details to CSV is a straightforward process that involves navigating through the Azure portal and utilizing its export functionality.
Once you have your data in CSV format, it becomes easier to handle and analyze using various tools.
Sign up for Sourcetable to analyze your exported CSV data with AI in a simple to use spreadsheet.
Start working with Live Data
Al is here to help. Leverage the latest models to
analyze spreadsheets, enrich data, and create reports.