

Export Azure Powershell to CSV

Introduction
Exporting data from Azure PowerShell to CSV format is essential for data management and analysis. This process allows you to create backups, share data easily, and perform detailed analysis.
In this guide, we will walk you through the steps needed to export data from Azure PowerShell to a CSV file efficiently. You will learn the commands and methods required for a smooth export.
Finally, we will explore how Sourcetable lets you analyze your exported data with AI in a simple to use spreadsheet.
Exporting Data to CSV Format Using Azure PowerShell
Introduction to Export-Csv Cmdlet
The Export-Csv cmdlet in Azure PowerShell is used to convert objects into CSV string representations. These strings can then be saved to a file, allowing for easy data manipulation and transfer. The cmdlet creates a CSV file from the objects you pass to it, with each object translating to a row in the CSV file.
Creating a CSV File
To export your data to a CSV file, use the Export-Csv cmdlet. Specify the file path where the CSV should be saved using the -Path parameter. This cmdlet organizes the file based on the properties of the first submitted object, making it a powerful tool for data export operations.
Customizing CSV Output
There are several options available to customize your CSV output. By default, PowerShell 6.0 and later do not include the #TYPE information in the CSV. Use the -IncludeTypeInformation parameter if you need this information. Additionally, the -NoTypeInformation parameter can be used to omit the #TYPE information header from the CSV output.
Selecting Object Properties
To export only specific properties of an object, use the Select-Object cmdlet in conjunction with Export-Csv. This allows you to fine-tune the data included in your CSV file. Ensure not to format objects before sending them to Export-Csv, as the cmdlet only handles unformatted objects.
Handling Quotes in CSV
Use the -UseQuotes parameter to control how quotes are used in the CSV files. Options include Never (don’t quote anything), Always (quote everything), and AsNeeded (only quote fields with delimiters, double quotes, or newlines). This flexibility helps in ensuring the CSV format meets the requirements of other programs.
Practical Examples
Several practical examples illustrate the usage of Export-Csv in Azure PowerShell:
Get-Process -Name WmiPrvSE | Select-Object -Property BasePriority,Id,SessionId,WorkingSet | Export-Csv -Path .WmiData.csv -NoTypeInformationGet-Process | Export-Csv -Path .Processes.csv -NoTypeInformationGet-Process | Export-Csv -Path .Processes.csv -IncludeTypeInformationGet-Date | Select-Object -Property DateTime, Day, DayOfWeek, DayOfYear | Export-Csv -Path .DateTime.csv -NoTypeInformationImporting CSV Data
The cmdlet Import-Csv is available to recreate objects from the CSV strings in a file. This cmdlet reads the CSV file and converts the strings back into objects, enabling further processing and analysis within PowerShell.
Conclusion
Using Azure PowerShell to export data to CSV format is straightforward with the Export-Csv cmdlet. It allows for comprehensive customization and efficient data handling. By following the given methods and parameters, you can ensure that your data export meets your specific needs and integrates smoothly with other applications.
How to Export Data to CSV Format Using Azure PowerShell
Introduction to Export-Csv Cmdlet
The Export-Csv cmdlet in Azure PowerShell converts objects into a series of CSV strings and saves them in a specified file. This cmdlet is crucial for creating CSV files from your PowerShell objects, which can be used to share data with various programs that accept CSV inputs.
Creating CSV Files
To export data, use the Export-Csv cmdlet with a specified path. Each object becomes a row in the CSV file, containing a character-separated list of its property values. For example, use Get-Process | Export-Csv -Path .\Processes.csv -NoTypeInformation to export process data to a CSV file.
Specifying File Paths
Use the -Path parameter to define where the CSV file will be saved. Ensure the specified path is valid and writable. For instance, Export-Csv -Path C:\Reports\MyData.csv -NoTypeInformation saves the data to the MyData.csv file in the C:\Reports directory.
Omitting #TYPE Information
By default, PowerShell 6.0 and later versions do not include the #TYPE information. However, you can control this behavior using the -NoTypeInformation parameter to exclude it or -IncludeTypeInformation to include it.
Managing Quotes in CSV Files
The -UseQuotes parameter specifies when quotes are used in the CSV output. Options include "Never" to avoid quotes, "Always" to quote everything, and "AsNeeded" to add quotes only when necessary.
Appending to Existing Files
To append data to an existing CSV file, use the -Append parameter. Export-Csv does not append by default. Including -Append ensures that new rows are added instead of overwriting the current file.
Handling Read-Only Files
When exporting to a read-only file, use the -Force parameter to overwrite it. This option is necessary when the file’s attribute prevents writing. For example, Export-Csv -Path .\ReadOnlyFile.csv -Force will overwrite the read-only file.
Selective Property Export
To export only specific properties of an object, use the Select-Object cmdlet in combination with Export-Csv. For example, Get-Process | Select-Object Name,Id | Export-Csv -Path .\SelectedData.csv -NoTypeInformation exports only the Name and Id properties of processes.
Example Commands
Here are practical examples to get you started:
Get-Process -Name WmiPrvSE | Select-Object BasePriority,Id,SessionId,WorkingSet | Export-Csv -Path .\WmiData.csv -NoTypeInformation$WinService = Get-Service -DisplayName *Windows* | Select-Object DisplayName, Status; $WinService | Export-Csv -Path .\Services.csv -NoTypeInformation -AppendGet-Date | Export-Csv -UseQuotes AsNeeded -Path .\DateTime.csvBest Practices
For optimal results, avoid formatting objects before sending them to Export-Csv. Formatted objects result in CSV files with format properties rather than object properties. Always use object properties directly for clear and accurate CSV output.
Using Import-Csv
The Import-Csv cmdlet recreates objects from CSV strings, allowing you to import and manipulate CSV data within PowerShell. This feature is beneficial for data analysis and processing within PowerShell scripts.
Use Cases for Azure PowerShell
Managing and Administering Azure Resources
Azure PowerShell is essential for managing and administering Azure resources directly from a command-line interface. It provides comprehensive modules for handling virtual machines, subscriptions, and storage accounts, enhancing control and efficiency in cloud management.
Automating Daily Tasks
Leverage Azure PowerShell to automate routine administrative tasks on Azure resources. This allows for the efficient execution of repetitive tasks like VM management, resource allocation, and status monitoring, freeing up time for more strategic initiatives.
Running Commands in Parallel
Using the Parallel keyword in Azure PowerShell, commands can be executed in parallel, significantly reducing the time required for complex operations. Implementing constructs like ForEach -Parallel enables concurrent management of multiple virtual machines, optimizing performance.
Creating Workflow Runbooks
Azure PowerShell facilitates the creation of PowerShell Workflow runbooks, which are critical for structuring and automating a sequence of tasks in Azure Automation. These runbooks streamline administrative processes and increase productivity.
Cross-Cloud Resource Management
Azure PowerShell extends its utility beyond Azure, offering management capabilities across multiple clouds, including AWS and GCP. This cross-cloud functionality supports a unified approach to resource management and streamlines operations.
Building Automated Workflows
Ideal for building automated workflows, Azure PowerShell enhances the management of resources using the Azure Resource Manager model. This automation capability is crucial for efficient resource management and scaling operations.
Enhancing Labs with Custom Scripts
In Azure DevTest Labs, Azure PowerShell can add external users, add marketplace images, create custom images from VHDs, and define allowed VM sizes. These scripting scenarios automate lab management and streamline test environments.
Using Azure Cloud Shell
Azure PowerShell can be executed directly in the browser via Azure Cloud Shell. This convenience allows for rapid deployment and management of Azure resources without the need for local installations, providing flexibility and ease of access.
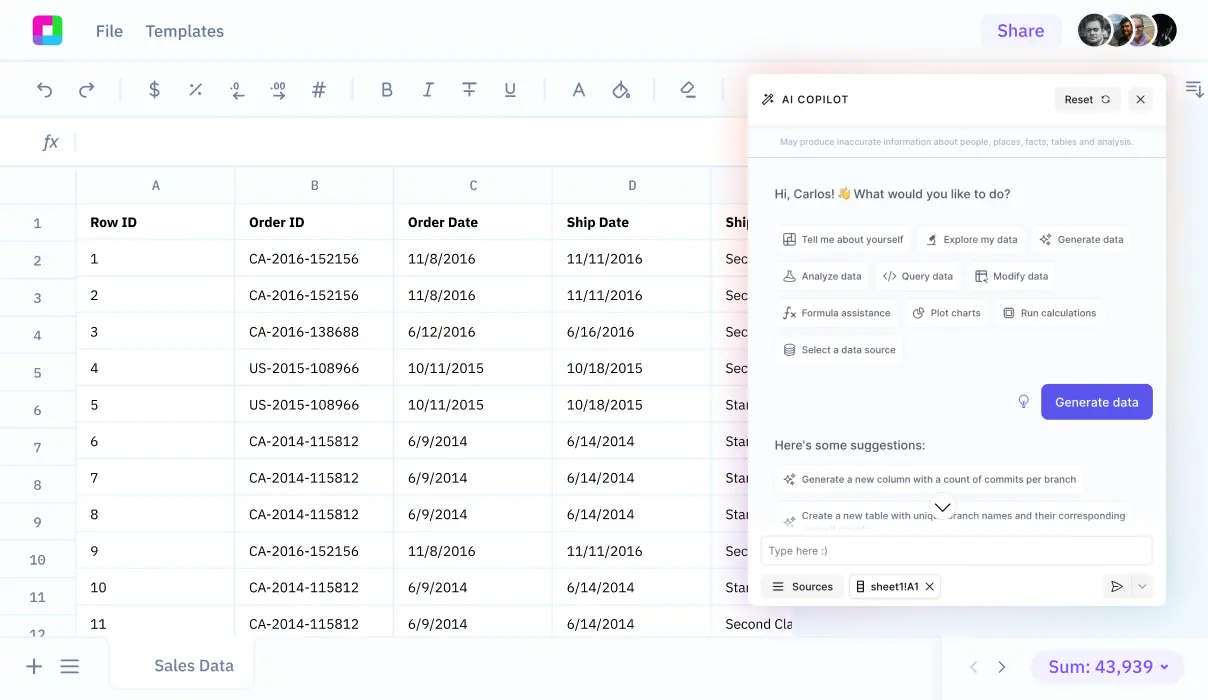
Why Choose Sourcetable Over Azure PowerShell?
Sourcetable is the ideal alternative to Azure PowerShell for managing and querying your data. Unlike Azure PowerShell, which requires command-line proficiency, Sourcetable offers a user-friendly, spreadsheet-like interface that makes data manipulation accessible and straightforward.
This tool centralizes your diverse data sources, allowing you to query everything in one place. Sourcetable eliminates the complexity of managing multiple databases separately, streamlining your data operations efficiently.
Real-time data retrieval is seamless with Sourcetable. You can access the most up-to-date information without the need for extensive scripting or advanced technical knowledge, providing quicker insights and fostering better decision-making.
Sourcetable's spreadsheet interface excels in ease of use and accessibility, enabling both technical and non-technical users to work with data effortlessly. This ease of use makes Sourcetable a robust and versatile solution for any team.

Frequently Asked Questions
How do I export data from Azure PowerShell to a CSV file?
Use the Export-Csv cmdlet to export data to a CSV file. The Export-Csv cmdlet converts the objects that you submit into a series of CSV strings and saves them in the specified file.
What should I be cautious about when exporting data to CSV using Export-Csv?
Do not format objects before sending them to Export-Csv, as it does not work with formatted objects. Instead, Export-Csv will export the object's properties instead of the formatted properties.
How can I select specific properties to export to a CSV file?
Use the Select-Object cmdlet to select the properties of an object that you want to export. For example: Get-Process -Name WmiPrvSE | Select-Object -Property BasePriority,Id,SessionId,WorkingSet | Export-Csv -Path .\WmiData.csv -NoTypeInformation
Can Export-Csv append data to an existing CSV file?
Yes, use the -Append parameter with Export-Csv to add CSV output to the end of the specified file.
How do I use a different delimiter when exporting to CSV?
Use the -Delimiter parameter with Export-Csv to specify a different delimiter. For example: Get-Process | Export-Csv -Path .\Processes.csv -Delimiter ';' -NoTypeInformation
Conclusion
Exporting data from Azure PowerShell to CSV allows for flexible data analysis and reporting.
By following the steps outlined, you will be able to back up and analyze your datasets efficiently.
For enhanced analysis of your exported CSV data, sign up for Sourcetable to leverage AI in a user-friendly spreadsheet.
Start working with Live Data
Al is here to help. Leverage the latest models to
analyze spreadsheets, enrich data, and create reports.