Introduction
Mastering date calculations in Excel can enhance productivity and streamline your data management tasks. One common challenge is determining how to calculate months between dates in Excel. This calculation is crucial for financial analysis, project planning, and tracking durations in various business contexts.
Excel provides multiple functions to compute the difference in months between two dates, such as DATEDIF and EDATE. Understanding the correct application and subtleties of each function is essential to avoid common pitfalls and achieve accurate results.
In this guide, we'll delve into each method for calculating months in Excel. Additionally, we'll explore how Sourcetable enhances these calculations with its AI-powered spreadsheet assistant, which you can try today.
See how easy it is to months in excel with Sourcetable
How to Calculate Months in Excel
Understanding the DATEDIF Function
The DATEDIF function is essential for calculating the number of full months between two dates in Excel. This function requires three arguments: start_date, end_date, and unit. The unit argument specifies the type of information to return, with "M" used for counting complete months.
Setting Up Your Excel Sheet
Begin by entering the start date in one cell and the end date in another cell. It's important to ensure that both dates are in a format that Excel recognizes, preferably by using the DATE function.
Using the DATEDIF Function
To calculate the number of full months between two dates, use the formula =DATEDIF(start_date, end_date, "m"). This will return the number of complete months from the start date to the day before the end date matches the day of the month of the start date.
Practical Example
For instance, if start_date is in cell A1 and end_date is in cell B1, the formula would be =DATEDIF(A1, B1, "m"). This simple setup allows you to quickly determine the duration in months between any two given dates.
Key Points to Remember
Ensure that the dates are entered correctly and that the unit parameter is set to "m" for months. Incorrect data or formula errors can result in wrong calculations or Excel errors. Always check your formula for accuracy before applying it to critical uses.
How to Calculate Months in Excel
Using the DATEDIF Function
To calculate the number of full months between two dates in Excel, utilize the DATEDIF function. Start by entering the start date in one cell and the end date in another. Apply the formula =DATEDIF(start_cell, end_cell, "m"). This formula returns the number of complete months between the dates. For example, =DATEDIF(D5, E5, "m") calculates months between the dates in cells D5 and E5.
Potential Inaccuracies in DATEDIF
Be aware that the DATEDIF function might produce inaccurate results in some scenarios. It is essential to verify the outcomes, particularly in complex date calculations.
Using the EDATE Function
Alternatively, the EDATE function can calculate future or past dates based on a specified number of months from a start date. The syntax is =EDATE(start_date, months). For instance, to find a date 5 months after the start date in cell A1, use =EDATE(A1, 5). The function is particularly useful for computing due dates or maturity dates that align with the day of the month of the issue date.
Try Sourcetable For Free
Calculate anything with Sourcetable AI. Tell Sourcetable what you want to calculate. Sourcetable does the rest.
Sign Up
Calculating Months in Excel
Understanding how to calculate months in Excel simplifies date management in data analysis, financial forecasting, and project planning. This section provides examples to help you compute the difference and forecast future dates effectively, leveraging Excel functions like EDATE, MONTH, and DATEDIF.
Example 1: Calculate Month Difference Between Two Dates
To find the number of full months between two dates in Excel, use the DATEDIF function. The syntax is straightforward: =DATEDIF(start_date, end_date, "M"). This formula returns the complete month count between the dates.
Example 2: Adding Months to a Date
To add a specific number of months to a given date, use the EDATE function: =EDATE(start_date, number_of_months). This function calculates the date that is a certain number of months away from the start date, accounting for year transitions automatically.
Example 3: Extracting the Month From a Date
For dissecting a date to retrieve only its month component, utilize the MONTH function. Input the date as follows: =MONTH(date). This formula will output a numeric value corresponding to the month, where January equals 1 and December equals 12.
Example 4: Projecting End Date from Start Date and Duration
To project an end date based on a known start date and a set duration in months, combine EDATE and addition: =EDATE(start_date, months_duration) + days_remainder. This will add full months plus any fractional portion described through additional days.
Example 5: Calculating Months Between Dates, Excluding Day Count
If calculating the month difference but avoiding partial months influenced by day counts, use: =DATEDIF(start_date, end_date-EOMONTH(start_date, 0)+1, "M")+1. This formula adjusts the end date to focus solely on full months.
Discover the Power of Sourcetable for All Your Calculation Needs
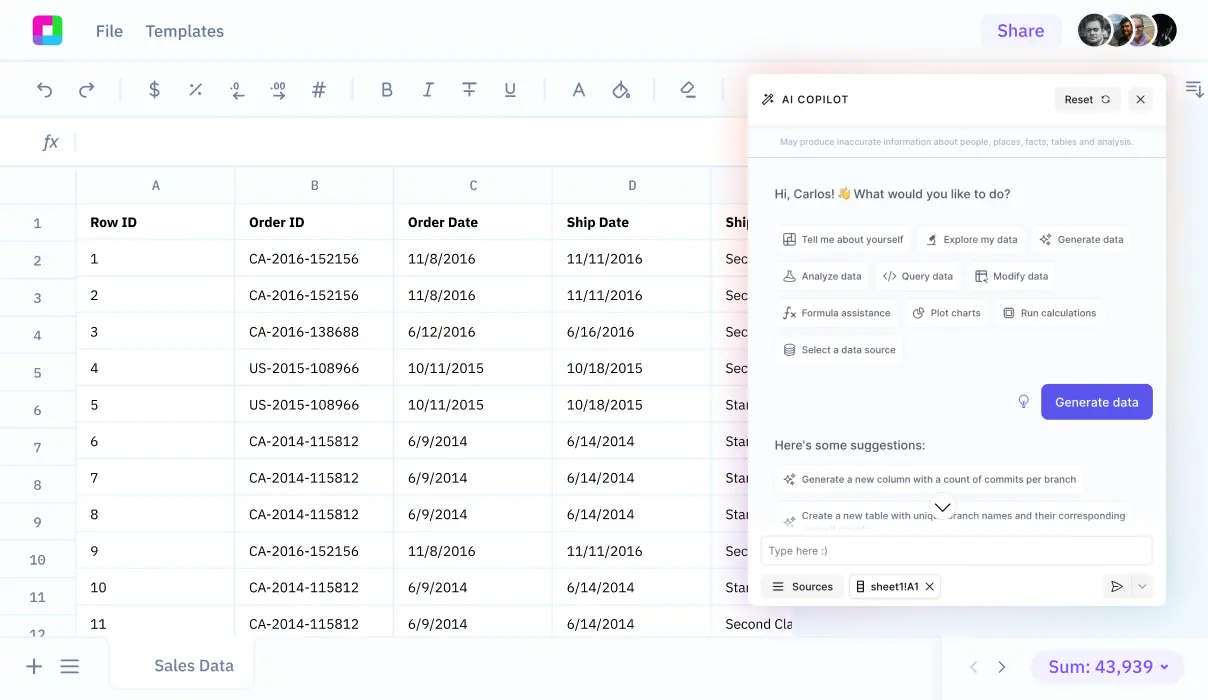
Embark on a journey to efficient and accurate calculations with Sourcetable, the AI-powered spreadsheet designed to streamline your computational tasks. Whether you're tackling complex data analysis or solving simple arithmetic, Sourcetable simplifies the process with its advanced AI capabilities.
Calculating Months in Excel Made Simple
One common challenge many face in spreadsheets is figuring out how to calculate months between dates in Excel. Sourcetable's AI assistant effortlessly handles this by using simple commands. Just ask the AI to perform the calculation, and it not only computes the result but also explains the method, enhancing your learning and understanding.
For instance, if you need to find the number of months between two dates, just input your request. The AI assistant utilizes formulas like DATEDIF(start_date, end_date, "M") to provide accurate and immediate results. This feature is particularly beneficial for planning projects, tracking milestones, and managing deadlines.
Why Use Sourcetable?
Sourcetable excels beyond typical spreadsheets with its dual display interface. Results are shown in spreadsheet format while detailed explanations are provided through a chat interface. This dual approach not only ensures accuracy but also aids comprehension, making it invaluable for academic, personal, and professional use.
Whether you're a student preparing for exams, a professional crunching numbers, or simply curious about data analytics, Sourcetable is your go-to solution for all types of calculations. Embrace the power of AI with Sourcetable and transform your approach to data handling and problem-solving.
Use Cases for Calculating Months in Excel
Tracking Project Timelines |
Utilizing the DATEDIF function in Excel assists in monitoring the duration of projects by calculating the total number of months from start to finish. This calculation helps in deadline management and resource allocation. |
Calculating Ages |
The DATEDIF function, with "m" as an argument, is effective for determining the number of full months between two dates, useful for accurate age calculation in months. |
Event Planning |
For event organizers, calculating months before events can optimize preparations. Using the DATEDIF function with different unit arguments like "ym" clarifies not only complete years but also remaining months until the event. |
Warranty Tracking |
Using Excel to calculate elapsed months since purchase can streamline management of warranty periods, ensuring consumer rights and service quality. |
Annual Review and Reporting |
Determining the month of specific transactions or milestones with the MONTH function supports financial analysis and annual reporting requirements. |
Frequently Asked Questions
How do I use the DATEDIF function to calculate the number of full months between two dates in Excel?
To calculate the number of full months between two dates using the DATEDIF function, enter the start date in one cell and the end date in another cell. Then use the formula =DATEDIF(start_cell, end_cell, "m") where 'start_cell' is the cell containing the start date, 'end_cell' is the cell containing the end date, and "m" specifies that the result should be in full months.
What does the 'm' argument in the DATEDIF function represent?
In the DATEDIF function, the 'm' argument stands for 'months.' It is used to return the number of full months between two dates.
Can I see an example of how to calculate the difference in months between two dates in Excel?
Yes, an example formula to calculate the difference in months between two dates in Excel is =DATEDIF(D5, E5, "m"). This formula assumes the start date is in cell D5 and the end date is in cell E5.
Where do I input the start and end dates when using the DATEDIF function to calculate months?
When using the DATEDIF function to calculate the number of months, you should enter the start date in one cell and the end date in another cell before referencing these cells in your formula.
Conclusion
Calculating months in Excel requires understanding various functions, such as EDATE() and DATEDIF(). These functions are instrumental for managing date intervals, developing timelines, and performing time-sensitive financial analyses.
Simplify Calculations with Sourcetable
Sourcetable, an AI-powered spreadsheet, enhances the ease and accuracy of these calculations. Its intuitive design is tailored for both beginners and seasoned professionals needing to execute complex data operations effortlessly. Explore the possibilities with AI-generated data to test and refine your calculations further.
Ready to streamline your Excel tasks? Visit app.sourcetable.com/signup to try Sourcetable for free and discover a better way to manage your calculations.
Try Sourcetable For Free
Calculate anything with Sourcetable AI. Tell Sourcetable what you want to calculate. Sourcetable does the rest.
Sign Up
Recommended Guides
Connect your most-used data sources and tools to Sourcetable for seamless analysis.
-
how to calculate months between two dates in excel

-
how to calculate monthly returns in excel
-
how to calculate weeks in excel
-
how to calculate age in excel in dd/mm/yyyy
-
how to calculate month over month growth
-
how to calculate month over month change
-
how to calculate years of service in excel
-
how to calculate yoy growth in excel
Calculate anything you want with AI
Sourcetable takes the math out of any complex calculation. Tell Sourcetable what you want to calculate. Sourcetable AI does the rest. See the step-by-step result in a spreadsheet and visualize your work. No Excel skills required.