Why 3D Printing Quality Analysis Matters
Picture this: You're running a production line, and suddenly your print failure rate jumps from 2% to 15%. Without proper analysis, you're flying blind—wasting materials, missing deadlines, and frustrated customers breathing down your neck.
That's where comprehensive 3D printing quality analysis becomes your secret weapon. By tracking the right metrics and understanding the patterns in your data, you can spot issues before they become expensive problems.
Transform Your Manufacturing Analytics
Discover how systematic quality analysis revolutionizes your 3D printing operations
Predictive Quality Control
Identify potential failures before they happen by analyzing historical patterns, temperature fluctuations, and material consistency data.
Cost Optimization
Reduce material waste by up to 30% through intelligent parameter optimization and real-time quality monitoring.
Process Standardization
Create repeatable quality standards across multiple printers and operators with data-driven insights and automated reporting.
Real-time Insights
Monitor print quality metrics as they happen, enabling immediate adjustments and preventing batch failures.
Essential 3D Printing Quality Metrics to Track
The difference between good and great manufacturing lies in knowing exactly what to measure. Here are the critical metrics that separate successful operations from those constantly fighting fires:
Dimensional Accuracy
This is your precision scorecard. Track how closely your printed parts match the intended dimensions. A leading aerospace manufacturer we worked with discovered that monitoring dimensional drift patterns helped them reduce rework by 40%.
Surface Quality Indicators
Surface finish directly impacts both function and aesthetics. One medical device company found that tracking surface roughness patterns helped them achieve 99.2% first-pass quality rates.
Process Reliability Metrics
These metrics reveal the health of your entire operation. Think of them as your manufacturing vital signs.
Real-World Quality Analysis Applications
See how different industries leverage 3D printing quality analysis to achieve breakthrough results
Automotive Prototyping
A major automotive supplier uses quality analysis to optimize prototype production. By tracking dimensional accuracy across different materials and geometries, they reduced prototype iteration time by 50% while maintaining precision tolerances within 0.1mm.
Medical Device Manufacturing
A medical device company implemented comprehensive quality tracking for custom implants. Their analysis revealed that bed temperature variations were the primary cause of dimensional drift, leading to 99.5% dimensional accuracy improvement.
Aerospace Component Production
An aerospace manufacturer developed a quality prediction model that analyzes material properties, environmental conditions, and printer performance. This approach reduced component rejection rates from 8% to less than 1%.
Consumer Electronics
A consumer electronics company tracks surface finish quality across multiple printers to ensure consistent appearance. Their analysis identified optimal print speeds for different geometries, improving surface quality by 35%.
How to Implement Effective Quality Analysis
Follow this proven framework to establish data-driven quality control for your 3D printing operations
Data Collection Setup
Establish consistent measurement protocols across all printers and operators. Set up automated data capture for temperature, humidity, print speed, and material usage. Create standardized test prints for baseline quality assessment.
Metric Standardization
Define clear quality thresholds for each critical metric. Establish pass/fail criteria based on your specific application requirements. Create measurement procedures that different operators can execute consistently.
Pattern Recognition
Use statistical analysis to identify correlations between process parameters and quality outcomes. Look for trends in failure modes, seasonal variations, and equipment-specific patterns that impact quality.
Continuous Optimization
Implement feedback loops that automatically adjust process parameters based on quality data. Create alert systems for early warning of quality degradation. Regularly review and update quality standards as processes improve.
Practical Quality Analysis Examples
Let's walk through some real scenarios where quality analysis makes the difference between success and frustration.
Example 1: Troubleshooting Layer Adhesion Issues
Imagine you're seeing increased delamination in your prints. Instead of guessing, you dive into your data:
Example 2: Optimizing Multi-Material Prints
A manufacturer producing composite parts needs to optimize the interface between different materials:
Example 3: Scaling Quality Across Multiple Printers
When you're running a fleet of 20+ printers, consistency becomes critical:
Why Sourcetable Excels at 3D Printing Quality Analysis
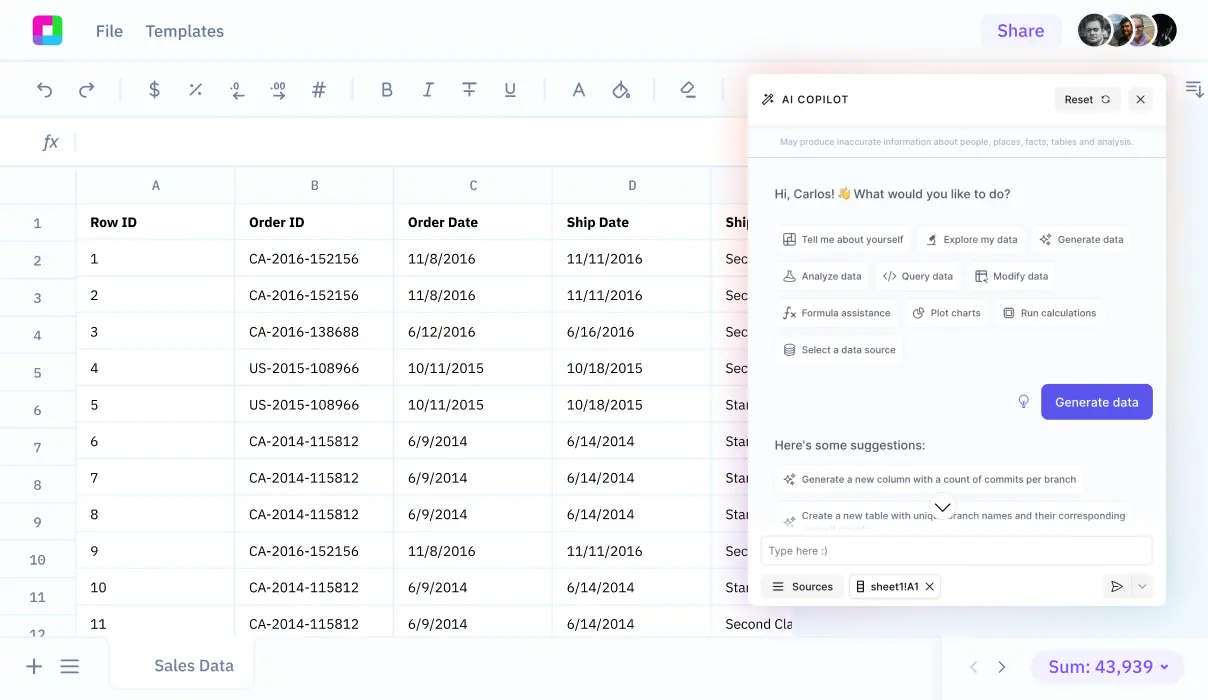
Traditional spreadsheets leave you drowning in data without insights. Sourcetable changes the game with AI-powered analysis that understands manufacturing contexts.
Smart Data Import
Connect directly to your printer monitoring systems, quality measurement tools, and production databases. No more manual data entry or format conversion headaches.
Intelligent Pattern Recognition
Ask questions like "What factors correlate with our highest quality prints?" or "Which printer settings should we adjust to reduce warping?" Get answers in seconds, not hours.
Automated Reporting
Generate quality reports that update automatically. Share insights with your team through interactive dashboards that everyone can understand, from operators to executives.
The result? You spend less time wrestling with data and more time optimizing your manufacturing processes. It's like having a manufacturing analyst built right into your spreadsheet.
Frequently Asked Questions
What's the minimum data needed to start meaningful quality analysis?
You need at least 30-50 print records with basic metrics like dimensional measurements, print success/failure, and key process parameters (temperature, speed, material). Even this small dataset can reveal valuable patterns when analyzed properly.
How often should I measure quality metrics?
For production environments, measure critical dimensions on every 10th part and full quality assessment on every 50th part. For prototyping, focus on key features for each iteration. The key is consistency rather than frequency.
Which quality metrics matter most for different applications?
Functional parts prioritize dimensional accuracy and mechanical properties. Aesthetic parts focus on surface finish and visual quality. Prototypes emphasize speed and dimensional accuracy. Medical/aerospace applications require comprehensive tracking of all metrics.
How do I handle quality data from multiple printer types?
Normalize your metrics across different printer capabilities. Focus on percentage-based measurements (deviation from target) rather than absolute values. Create printer-specific baselines while maintaining common quality standards.
What's the ROI timeline for implementing quality analysis?
Most manufacturers see initial improvements within 2-4 weeks through reduced waste and rework. Full ROI typically occurs within 3-6 months as process optimization reduces costs and improves throughput.
Can I analyze quality data without expensive measurement equipment?
Absolutely. Start with basic calipers and visual inspection criteria. Many quality insights come from tracking simple pass/fail rates, print completion times, and material usage. Advanced measurement tools can be added as your analysis program matures.
Frequently Asked Questions
If your question is not covered here, you can contact our team.
Contact Us


